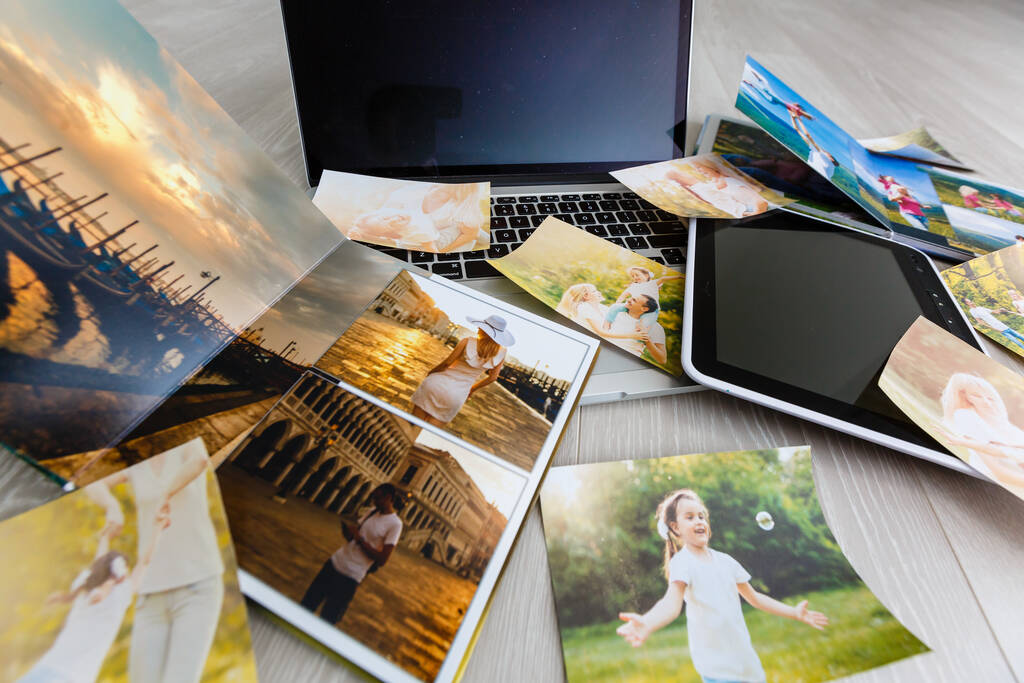
Photographers’ Guide to High-Quality Prints: From Camera Settings to Final Output
Photography is not just about capturing the moment but also how it is presented in the best form. Although digital platforms dominate the market, there is something timeless in holding a printed photograph or seeing your work as wall art. Good prints are not just about having a good photo; it takes a lot of skill, tools, and knowledge about the printing process. This guide takes you from camera settings through to the final print.
Preparation of the Perfect Shot
The base of any quality print begins with the photograph itself. Shooting with the intent of printing in mind requires attention to detail. Here are a few points to help you improve on the quality of your images:
Resolution Matters: Be sure your camera settings are adjusted to capture the highest resolution possible. For printing purposes, the optimal resolution is considered 300 DPI. That will ensure your prints will be sharp and not pixelated.
RAW Format is Your Best Friend: Shoot in RAW format as much as possible. While JPEG discards much of the image data captured by your camera’s sensor, the RAW format retains all of it, providing greater flexibility during editing and maintaining quality for printing.
Lighting and Composition: Thoughtful lighting and composition add depth and interest to your photographs. A well-lit image with balanced exposure translates beautifully into print.
Editing for Print Perfection
After taking your shots, what will follow is the post-processing, which will make sure your photographs get well translated on the print through editing, from screen to print. Key editing to follow:.
Calibrate Monitor: Colours on the monitor may not totally be what they appear on the final print. Your monitor calibration ensures that what you see during your editing phase is closer to the printed version.
Detail Work: Sharpen, contrast, and saturation for your image. Avoid over-editing since this can create unnatural colours or artifacts; thus, a natural look yet enhanced.
Crop Considerations: Keep an eye on the aspect ratio of your desired print size. Crop your photo to those dimensions to avoid any unwanted truncation in the printing process.
The Best Printing Materials
There is an excellent choice of papers available that will make all the difference to how your work is received. This relates to the texture and feel, the finish and generally the quality of the printing material used.
Paper Types: Glossy, matte, and fine art papers are available. Glossy paper is ideal for bright colours and sharp images, while matte paper provides a more subdued, sophisticated finish. Fine art papers are excellent for gallery-quality prints with rich textures.
Printing Methods: Among the methods for photo printing are inkjet and dye-sublimation. Inkjet is preferred when it comes to great colour accuracy with almost all types of papers. The use of dye-sublimation is smooth and rich, especially on professional grade levels.
Large Printing Machines and Their Significance
Big printers are used to make enormous prints, like huge wall art or banners. These printers are designed for high resolution and can provide stunning print clarity and depth of colour on a very large scale. Not all photographers can afford such machinery, so working with a reputable printing service that has large printers ensures that the quality is maintained even on larger prints.
Prepare Files to Print
Before printing out your files, prepare them for the best quality. Failure to do this could result in disappointing outputs.
File Format: Make sure to save your files as TIFF or PSD files, not JPEG, for maximum detail and no compression artifacts.
Colour Profiles: Utilise the right colour profile for the printer or lab. All printers operate within the CMYK colour space; conversion of files from RGB ensures more accurate colours.
Print Proofs: It’s a good idea to obtain a small proof of the image before proceeding to make a full-size print; it can then be used to inspect any colour/sharpness/image quality-related issues.
Display and Conserve Your Prints
After having your prints, display them in an appropriate manner as well as conserving them to extend their life.
Framing and Mounting: This will make them look much better while being protected as a good quality frame; it also does the prints some good for larger prints mount them to foam boards or acrylic panels.
Avoid Direct Sunlight: This causes colours to fade over time. Place your prints in controlled lighting or use UV-protective glass.
Cleaning Regularly: It is important because dust and debris can accumulate on your prints, especially if they are not framed. Gently clean them using a soft cloth to preserve their appearance.
Final Thoughts
Printing your photography is a very fulfilling way of bringing your work to life. Every step from the camera to the final product is what contributes to achieving the best possible results. Attention to detail, the right tools, and trusted printing services can help you create prints that do justice to your art.
Be it a small photograph for gifting or a huge, beautiful wall art piece, the feeling of satisfaction by looking at your printed work cannot be replaced by anything. Therefore, take the time and work on your process and let your prints not only express your skills as photographers but also enthrall those who see them.
